How to Upgrade Your Arcade 1Up Game's Spinner Controller
This DIY bolt-in replacement brings true arcade quality to your home Arcade 1Up video game machine.
|
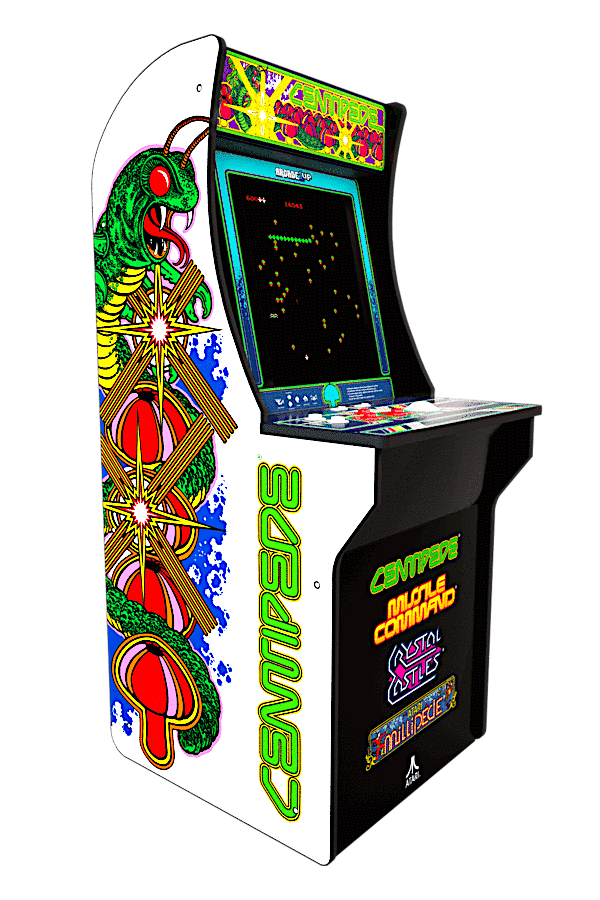
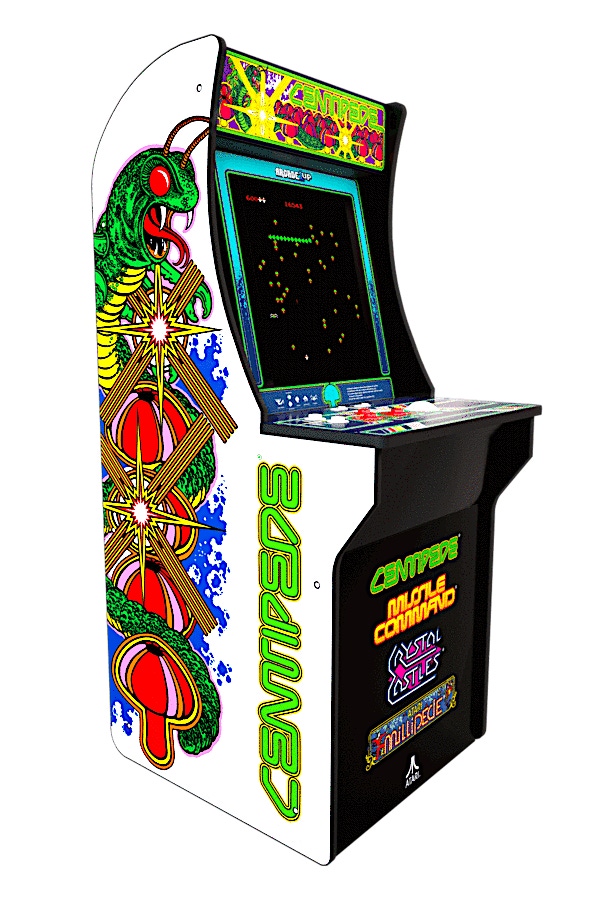
Arcade 1Up Centipede machine. Image source: Arcade 1Up |
Nostalgic arcade game enthusiasts were thrilled when Arcade 1Up introduced its line of three-quarter scale cabinets for playing some of our favorite arcade classics. The machines cost a few hundred dollars, depending on the model you choose, and come in Ikea-style flat-pack do-it-yourself assembly kits.
Putting together an Arcade 1Up like my 12-in-1 combination model is a simple process that should probably take less than an hour. Mine took a little longer because I was following advice to apply wood glue to all the joints to make the resulting cabinet stronger.
The machines are very popular, with sales far outstripping the company’s original projections, as the combination of affordability and compact size that doesn’t dominate a room found a ready audience. Alas, the pursuit of affordability has its downsides.
One is the flimsy construction method, with pegs in holes to connection the components. But as I mentioned, that is easily reinforced with wood glue. The internet reports that the joysticks and buttons don’t hold up under heavy use, but I have to think that few of these machines get enough use to actually wear out those parts.
But there was definitely one shortcoming with my machine that nearly every buyer found similarly intolerable, and that is the included rotary controller, which is used to play games like Tempest.
The arcade Tempest machine had a flywheel-weighted controller that you could give a spin and watch your shooting platform quickly scroll around the game’s layout for that level. With the rapid-fire shooting possible in the game, a spin and a quick trigger finger could lay down a withering field of suppressive fire on the incoming attackers. This tactic is central to game play.
But in the Arcade 1Up machine, the rotary controller, which has apparently been dubbed a “spinner” because of its function in the game, has no flywheel weighting to let it continue on with some inertia. Twisting it feels like turning a rotary light dimmer switch on a wall, only with gritty detents in the motion. It doesn’t just feel terrible, it prevents users from playing the game properly.
|
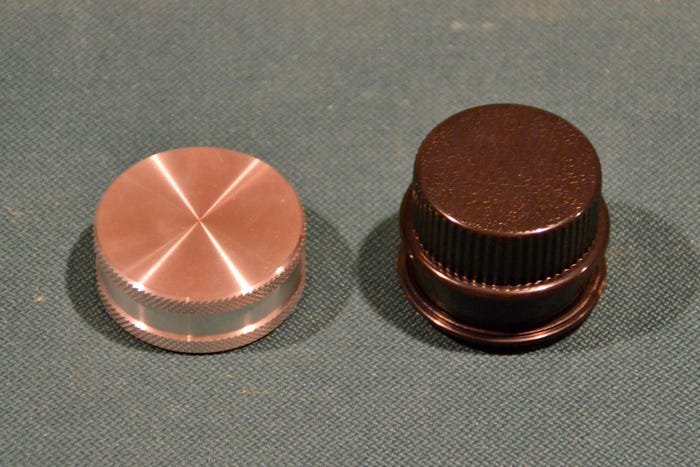
Aluminum replacement knob (l) vs. plastic original (r). Image source: Dan Carney |
Arcade 1Up quickly realized its mistake and swapped in a less-terrible replacement for subsequent machines and offered this new part as a replacement to customers. But this was still not the smooth, weighted spinning experience players want or expect.
Fortunately, Glen Planamento, of Glen’s Retro Show on YouTube, solved the problem, by designing an arcade-quality replacement spinner, which is made by Thunderjoystick to Glen’s specifications and sold on Amazon. The replacement spinner is $49.99 and for Arcade 1Up machines that have a spinner, but not a trackball, that is all that is needed.My combination 12-in-1 machine has the trackball, and so it requires an additional $11.99 interface board. This is because Arcade 1Up hard wires the spinner to the trackball and the trackball to the computer, so connecting the new spinner directly to the computer inside the cabinet leaves the trackball disconnected. The extra interface board connects both input devices and plugs them into the computer.
Thunderjoystick also offers color-anodized alternative knobs for the spinner, if you don’t like the bare knurled aluminum knob that comes with the kit. The optional colors that are available for $6.99 are black, red and blue.
|
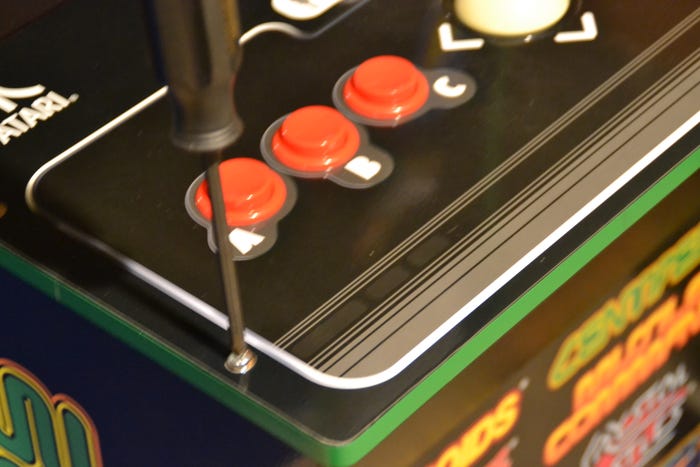
Removing the control panel. Image source: Dan Carney |
Glen’s Retro Show has an episode depicting the replacement procedure, and it went as easily as he describes. The parts are all weighty and seem to be of high quality when you remove them from their professional-grade packaging, both of which impart some confidence in the professionalism of Thunderjoystick in producing the parts.
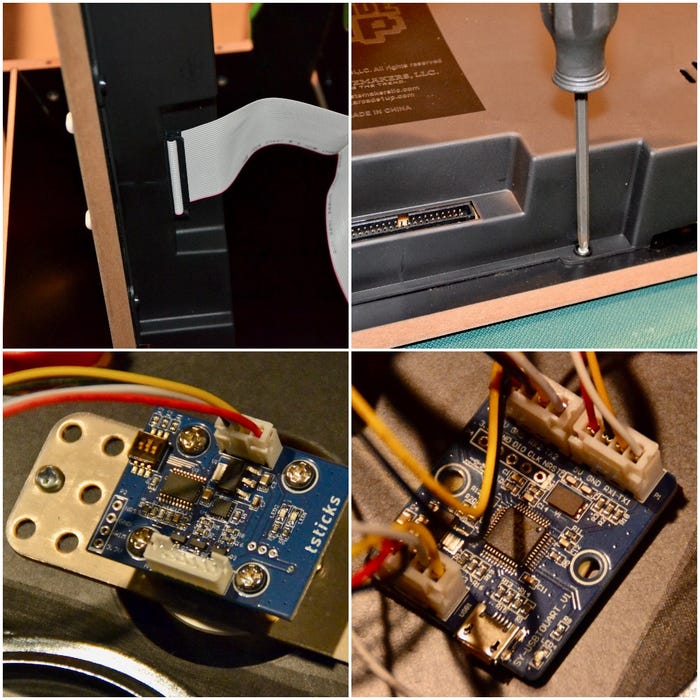
The control panel lifts off the front of the Arcade 1Up cabinet with the removal of four bolts, reversing the procedure when you would have assembled the machine. The input devices contained on the control panel connect to the machine via a ribbon cable, so after lifting the board, you reach around back to slide the connector off the plug at the back of the panel.
With the input control panel free of the cabinet, lay it upside down on your work surface to remove the six screws securing the plastic cover over the electronic components. Once inside, unplug the spinner’s connector from the computer board.
|
The ribbon cable connector, enclosure screws, spinner mechanism and interface board (clockwise from top left). |
If you have a 12-in-1, you disconnect the trackball from the computer board. Remove the old spinner by removing the two screws securing it, and replace the new unit into the same location, attaching it with the same screws.
Now plug the spinner’s connector into the game’s computer board, or if you have a 12-in-1 machine like mine, into the interface board that you bought separately. In that case, also connect the trackball into the interface board. Glen recommends mounting the interface board to the control panel using simple two-sided tape.
If you have a 12-in-1 machine, now you still have the old spinner hardware wired to the trackball. Glen recommends simply snipping that wire to remove the old unit. Now, plug the interface board into computer board, as shown in the included directions.
With the job done, reinstall the plastic cover, reconnect the ribbon cable, and reinstall the control panel using the four bolts. Now you install the aluminum spinner knob to the controller, tightening the set screw onto the spinner shaft with the included Allen wrench.
This is the roulette wheel-like spin that Tempest should have, thanks to the upgrade. Image source: Dan Carney
Job done, now you can play Tempest on your Arcade 1Up machine the same way you played on the arcade machines in the old days. Have fun!
RELATED ARTICLES:
Dan Carney is a Design News senior editor, covering automotive technology, engineering and design, especially emerging electric vehicle and autonomous technologies.
About the Author(s)
You May Also Like

