Developing Raspberry Pi 5 Apps Using Eclipse
Here’s how to employ the Eclipse integrated development environment for your Raspberry Pi 5 projects.
December 8, 2023

At a Glance
- Learn how to install the required cross compilation build tools, compiler, and Eclipse IDE.
- Goal is to use Eclipse IDE to automate cross compilation & download of the executable binary to the target Raspberry Pi 5.
The Raspberry Pi 5 is faster and more capable than any other Raspberry Pi before it. To get the most out of that brand new Pi 5 that’s sitting on your bench, you will need to assemble a highly efficient and easy-to-use Raspberry Pi 5 software development environment.
The Raspberry Pi 5 is all about Linux and runs a Debian-based version of Linux codenamed “Bookworm.” With that, we will also go all in with Linux and install our Raspberry Pi 5 software development environment on a personal computer running Ubuntu 22.04 LTS. It has been said that a picture is worth a thousand words. So, I’ve assembled an illustrated screen-by-screen Raspberry Pi 5 how-to PDF booklet to complement this article. You can get it from my company website.
Putting together our Raspberry Pi 5 software development environment entails installing the required cross compilation build tools, compiler, and Eclipse IDE. Respectively, we will download and install gcc, make, gcc-aarch64-linux-gnu, binutils-aarch64-linux-gnu, and the Linux flavor of the Eclipse IDE. The Linux commands to perform the downloads and installations are not at all complicated, and I’ve included the actual terminal screen captures of the issuance of the commands in the how-to document.
Ultimately, we want the Eclipse IDE to automate the cross compilation and download of the executable binary to the target Raspberry Pi 5. In addition, once we establish a communications channel between the Raspberry Pi 5 and the Eclipse IDE, we can use the power of SSH embedded within the Eclipse IDE to manipulate files and folders on the Raspberry Pi 5 directly from within the Eclipse IDE. Before firing up our Raspberry Pi 5, we will go ahead and run Eclipse and create a new “Hello World” project called pi5Project. All of the Eclipse installation and project creation steps are outlined in the how-to PDF.
The Raspberry Pi 5 does not come with a microSD card loaded with the new Bookworm OS. You can purchase a microSD card preloaded with the Bookworm OS or you can download the Bookworm OS image and manually install it on a blank microSD card. We will opt for manual installation using balenaEtcher, which is a free download from the balenaEtcher website. Using balenaEtcher to load the Bookworm OS image onto a microSD card is easy and intuitive. Simply specify the Bookworm OS image, select the target microSD card, and flash the image.
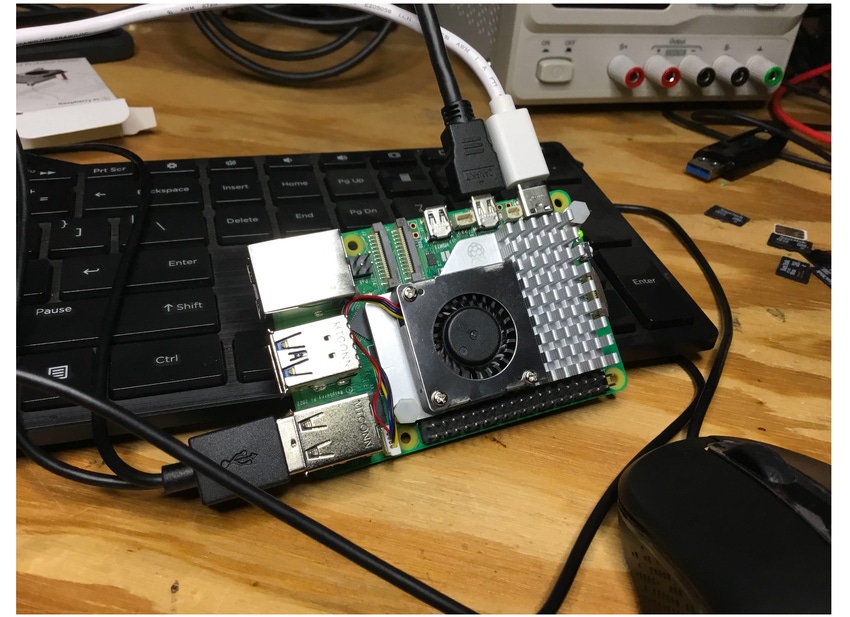
At this point, balenaEtcher has done its thing, and we can physically mount the Bookworm-laden microSD card in the Raspberry 5 Pi microSD slot, attach a USB keyboard and a USB mouse, connect an HDMI-equipped display, and power up the Raspberry Pi 5. However, we cannot connect our Raspberry Pi 5 to the Eclipse IDE until we perform some preliminary Raspberry Pi 5 setup tasks. Predefined user IDs and passwords no longer exist with this version of the Raspberry Pi. The Raspberry Pi 5 will prompt you through setting a unique user ID and password before enabling the connection of your Raspberry Pi 5 to a LAN. Using the built-in Raspberry Pi Configuration feature, turn on SSH and enable the SPI and I2C interfaces. I plan to implement a network of Raspberry Pi 5s. So, I changed the Raspberry Pi 5’s hostname from the default raspberrypi to pi5A.
To complete the installation of the Raspberry-Pi-5-to-Eclipse-IDE-communications channel, we need to perform one more task. The Eclipse IDE demands that an SSH key pair be generated to allow the secure automated transfer of binary executables to the target Raspberry Pi 5. Using a terminal on the Ubuntu personal computer, we enter the command ssh-keygen, which generates a public/private RSA key pair. My Raspberry Pi 5’s IP address is 192.168.1.188. Once the public/private RSA key pair is generated, we issue the command ssh-copy-id [email protected] to copy the RSA key pair to the Raspberry Pi 5. You will use your Raspberry Pi 5’s IP address as the argument for the ssh-copy-id command. The entire ssh-keygen process is graphically represented in the Raspberry Pi 5 how-to PDF. If you are wondering what RSA stands for, it comes from the surnames of Ron Rivest, Adi Shamir, and Leonard Adleman, who publicly described the security algorithm in 1977.
We now have our Raspberry Pi 5 and Eclipse IDE up and running. It’s time to connect the Raspberry Pi 5 to the Eclipse IDE using the Eclipse Remote System module. To establish a new connection to our Raspberry Pi 5 using the Remote Systems feature, we must first download and install the Remote System software, which is done from within Eclipse. Once the Remote System software is loaded, we need to specify that the remote system is running the Linux operating system, enter the Raspberry Pi 5’s hostname (pi5A), and name our new connection. Let’s keep it simple and name our connection pi5A. To complete the communications conduit between our Raspberry Pi 5 and the Eclipse IDE, we are prompted to enter a user ID and password for our new pi5A connection. At this point, our new connection will appear as pi5A in the Eclipse IDE’s Remote System window, and we can now access the file system of our Raspberry Pi 5 from within the Eclipse IDE.
The Eclipse new project creation process involved identifying the cross-compiler toolchain prefix (aarch64-linux-gnu-) and path (/usr/bin). The pi5Project we created simply prints “Raspberry Pi 5 Eclipse Project” and ends. Using the Eclipse Remote Systems SSH functionality, I created a directory called pi5_apps on the Raspberry Pi 5 from within the Eclipse IDE. To automatically send the pi5Project’s executable to the new pi5_apps directory following a successful cross compilation, I entered scp pi5Project pi5@pi5A:/home/pi5/pi5_apps in the Build Steps area of the Eclipse project’s Settings Properties window. The scp (secure copy) command copies the pi5Project executable from the Ubuntu personal computer into the pi5_apps directory on the Raspberry Pi 5. We can run the pi5Project executable by opening a terminal on the Raspberry Pi 5, navigating to the pi5_apps directory and entering ./pr5Project. As you can see in the how-to PDF, the result is the printing of “Raspberry Pi 5 Eclipse Project” in the terminal window.
The Raspberry Pi 5 fun is just beginning. Be sure to download a copy of the how-to PDF and keep your eyes here for upcoming Raspberry Pi 5 projects.
About the Author(s)
You May Also Like


