3D Inspection Cutting Automotive Defects
November 18, 2011

With conventional 2D machine vision for automotive inspection systems reaching its limits, 3D machine vision techniques are moving to the fore in a bid to up overall production quality.
Machine vision applications in automotive manufacturing include not only inspection and vision-enabled robotic assembly in workcells, but also tracking and gauging. After some highly-visible recalls, the industry took steps to reach 100 percent tracking of products as well as 100 percent inspection.

In automated automotive assembly lines, 2D systems just can't cover the entire range of defects on complex pieces. One simple method for achieving 3D machine vision is to position multiple 2D cameras around a stationary or moving object on the assembly line and synchronize them using triggering devices, to produce stereo images. This works fairly well to generate 3D location information when the region of interest is large and the cameras are close to the object. It's also better for stationary objects. Because of parallax, this method results in some depth distortion in the field of vision. It also can get expensive if many cameras are needed.
One application where this has worked well is in the tight tolerances of long, winding fuel and brake fluid lines and other types of pipes and tubes in automotive assemblies. Traditionally, automotive manufacturing engineers have used mechanical gauges and visual inspection to check shaped pipes. Like other visual inspection methods, this is labor-intensive, time-consuming, and costly. But this method was even more costly and time-consuming, since gauges must be custom-manufactured for every type of vehicle and every one of its tubes.
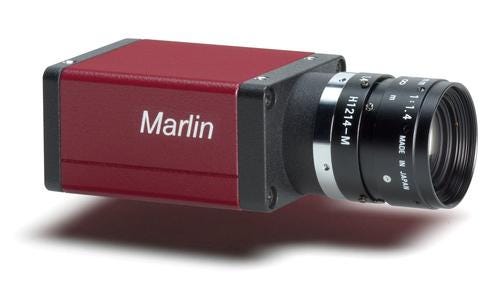
AICON 3D developed a tube measurement system with high-resolution Marlin cameras from Allied Vision Technologies. The cameras determine the pipe's geometry, take synchronous images and record them, creating parallel images from different angles and measuring bends of 5 to 180 degrees, as well as measuring and imaging complex forms. The Marlin's delayed image transport and in-camera memory, plus its onboard FPGAs, allow it to perform multiple real-time image pre-processing functions. These include debayering, color and shading correction, and image mirroring.
Self-contained 3D smart cameras, each of which can produce a 3D image, are becoming more desirable in some higher-end applications such as aerospace, and are sometimes used with robotic vision in automotive assembly. One of the smallest is the VC nano 3D from Vision Components. Measuring only 140mm x 70mm x 35mm, its line laser enables real-time image recording at a scan rate of up to 400 Hz using the 3D image acquisition triangulation method. Another is the 2 megapixel 3D high-speed C4-2040-GigE camera with GenICam from Automation Technology, which also uses laser triangulation.
About the Author(s)
You May Also Like


