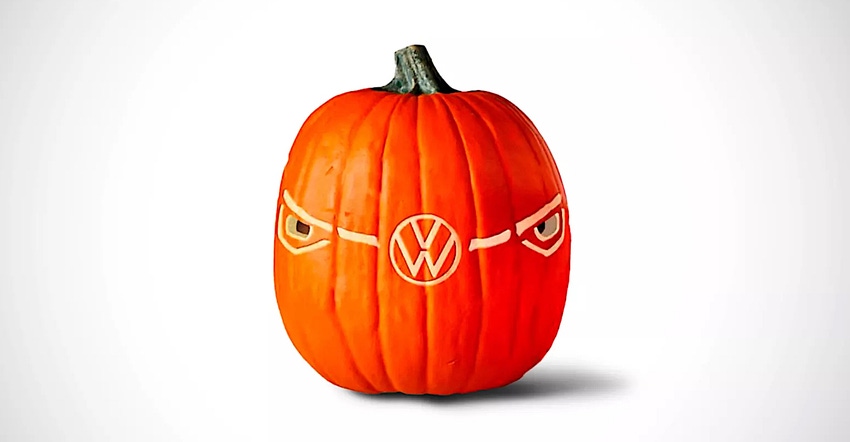
Volkswagen has released templates to help you cut a pumpkin that looks like a Beetle, the new electric Bus, or the I.D.4 EV.

Carving tips before you get started:
Use painter’s tape to hold the stencil in place and a washable marker to trace the outlines.
For both stencils, carve the cut-out sections (those that are black on the PDF) first. Once you’ve carved those pieces, leave them in place; this helps maintain pumpkin strength while you scrape away other sections.
Scraped-away but not completely carved-through sections are tricky. Start by using a craft utility knife to lightly trace the stencil outline. Then use a small sanding or linoleum carving tool to remove the topmost layers of the real or fake pumpkins.
Bring your Volkswagen pumpkin to life:
MATERIALS
At least 1 Pumpkin (the bigger, the better)
Tape
Washable marker, pins or awl
Sharp knife
Pumpkin-scraper tool or metal spoon
Craft utility knife
Small carving tool such as a pumpkin-carving tool, a linoleum-carving tool (for a real pumpkin), or a small sanding tool (for a fake pumpkin)
STEPS
Cut a hole in the top or bottom of the pumpkin and clean out the inside, scraping the flesh thoroughly.
Using the print size commands or a copier, size the stencil based on the size of the pumpkin. Print and transfer the stencil to the pumpkin. You can do this in one of two ways: Cut out the stencil pieces and tape them to the pumpkin. Trace around the stencil pieces using a washable marker. Tape the entire stencil sheet to the pumpkin. Use a pin or awl to poke through the stencil at the edges, tracing the lines where you will need to cut or carve.
Using a sharp knife or a pumpkin-carving tool, cut through, front to back, the two holes in each of the “headlights.” Leave these sections in for now to give you a good anchor point for the rest of the shape.
Using a craft utility knife, carefully trace the edges of the circle sections of the logo and the outlines of the horizontal grille section. Do not cut all the way through; simply cut through the surface. These are the sections in which you will scrape off the outer edge of the pumpkin to create depth and shadow. Using a craft utility knife to outline the scraped areas helps keep the area from splintering. Use a carving tool to “scrape” the outer skin of the pumpkin inside the lines you just cut.
Remove the previously carved-out carved pieces; place a battery-operated candle inside the pumpkin.
About the Author(s)
You May Also Like


