super fast 3D printing
IndustryIntelligent Industrial Camera Eyes Supplier NewsIntelligent Industrial Camera Eyes Supplier News
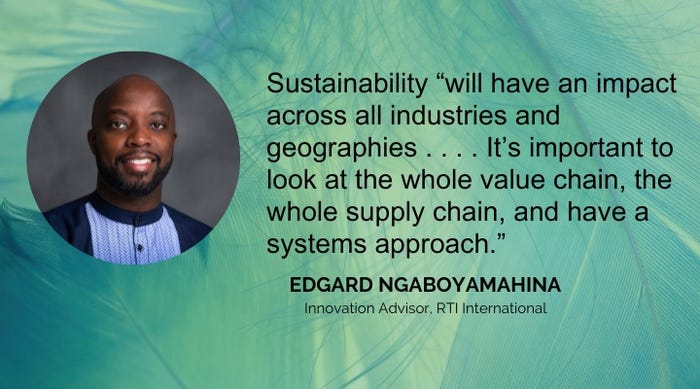
We’re also looking at sustainable industrial automation, variable frequency drives, and fluid control technologies.


 Closure device.")


.svg?width=300&auto=webp&quality=80&disable=upscale "Medical device software development")


.jpg?width=300&auto=webp&quality=80&disable=upscale "Tech employment prospects vary widely by state.")


.jpg?width=300&auto=webp&quality=80&disable=upscale "Conventional cabs have become a forgotten way to travel, but they remain a viable alternative to rideshare services.")


Editors' Choice


Jun 4 - Jun 6, 2024
Jun 4 - Jun 6, 2024
Innovation in automation starts here. Discover and collaborate on automation solutions that are revolutionizing the entire production lifecycle — from design to production to market — and sharpen your competitive edge. ATX South is part of IME South, a six-in-one expo offering the latest insights & solutions spanning medtech, packaging, automation, plastics, design, & processing.
Register NowSign up for the Design News Daily newsletter.